NodeMCU ESP8266 et sondes de température
Ca y est, nous avons vu dans le tuto précédent comment communiquer avec notre carte NodeMCU et l’ESP8266. Maintenant, nous allons lui adosser les capteurs de températures DS18B20 et BME280.
Le GPIO du NodeMCU
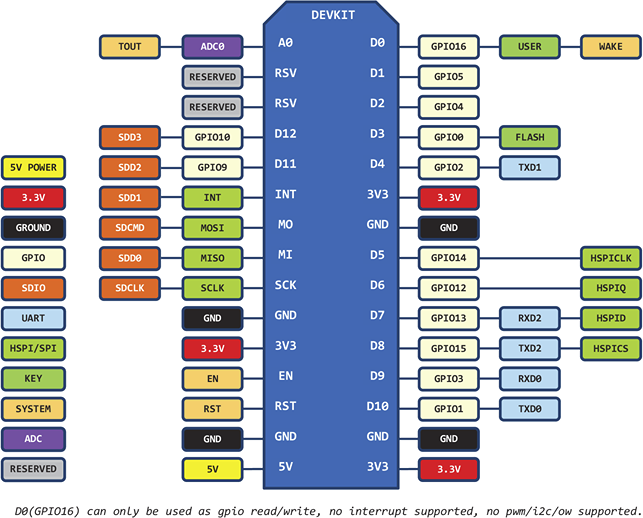
Sur le NodeMCU, on a vu que l’on avait 10 GPIO avec lesquels on peut interagir. On retrouve le schéma détaillé ci dessous.
Lorsque l’on a D4, c’est le GPIO2. On l’appellera donc dans les programmes avec l’ID n°2.
DS18B20
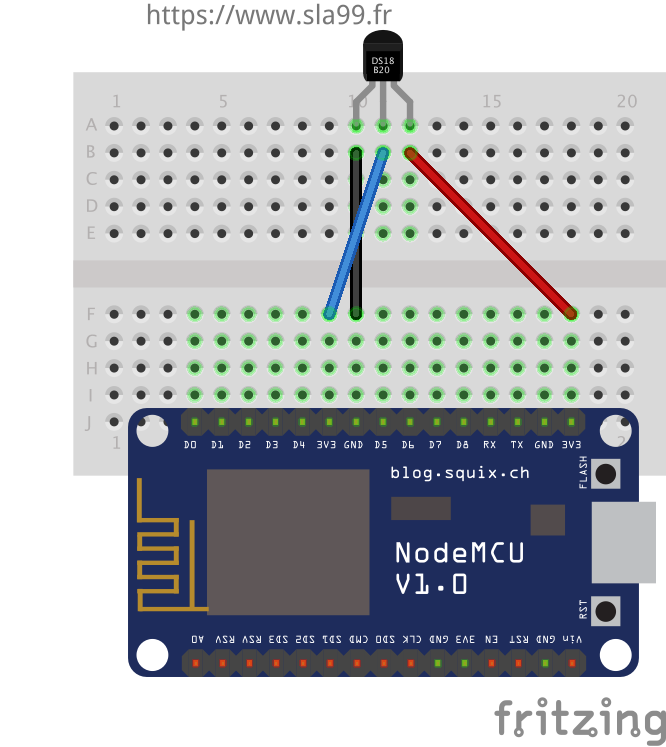
Le premier test est fait avec une sonde DS18B20. Nous l’avons déjà vu dans le projet du serveur de température. Voici le schéma du test.
Voici maintenant le code complet, permettant d’afficher la température sur la page web. On reprend le code du premier tuto auquel on ajoute le code pour interroger une sonde de température.
#include <ESP8266WiFi.h>
#include <DallasTemperature.h>

const char* ssid = "mon_ssid";
const char* password = "xxxxxxxx";
const int DS18B20 = 2; //D4

WiFiServer server(80);

void setup() {
  Serial.begin(115200);
  delay(10);

  // Connect to WiFi network
  Serial.println();
  Serial.println();
  Serial.print("Connecting to ");
  Serial.println(ssid);

  WiFi.begin(ssid, password);

  while (WiFi.status() != WL_CONNECTED) {
    delay(500);
    Serial.print(".");
  }
  Serial.println("");
  Serial.println("WiFi connected");

  // Start the server
  server.begin();
  Serial.println("Server started");

  // Print the IP address
  Serial.print("Use this URL to connect: ");
  Serial.print("http://");
  Serial.print(WiFi.localIP());
  Serial.println("/");

}

void loop() {
  // Check if a client has connected
  WiFiClient client = server.available();
  if (!client) {
    return;
  }

  // Wait until the client sends some data
  Serial.println("new client");
  while(!client.available()){
    delay(1);
  }

  // Read the first line of the request
  String request = client.readStringUntil('\r');
  Serial.println(request);
  client.flush();

  // Return the response
  client.println("HTTP/1.1 200 OK");
  client.println("Content-Type: text/html");
  client.println(""); //  do not forget this one
  client.println("<!DOCTYPE HTML>");
  client.println("<html>");

  OneWire oneWire(DS18B20);

  // Pass our oneWire reference to Dallas Temperature.
  DallasTemperature sensors(&oneWire);
  sensors.begin();
  sensors.requestTemperatures(); // Send the command to get temperatures

  Serial.print("Temp : ");
  Serial.println(sensors.getTempCByIndex(0));

  client.print("Temp : ");
  client.print(sensors.getTempCByIndex(0));
  client.println(" °C");

  client.println("</html>");

  delay(1);
  Serial.println("Client disconnected");
  Serial.println("");

}
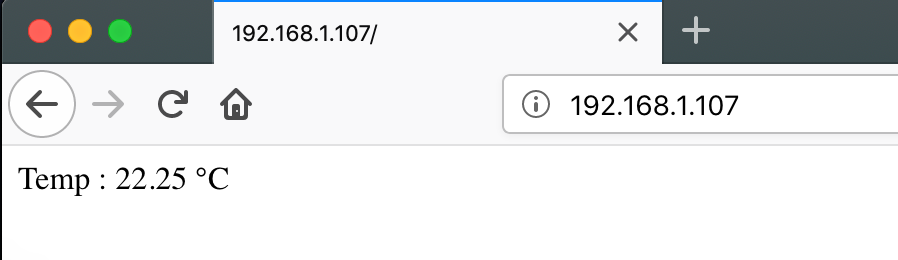
Et voici le résultat
BME280
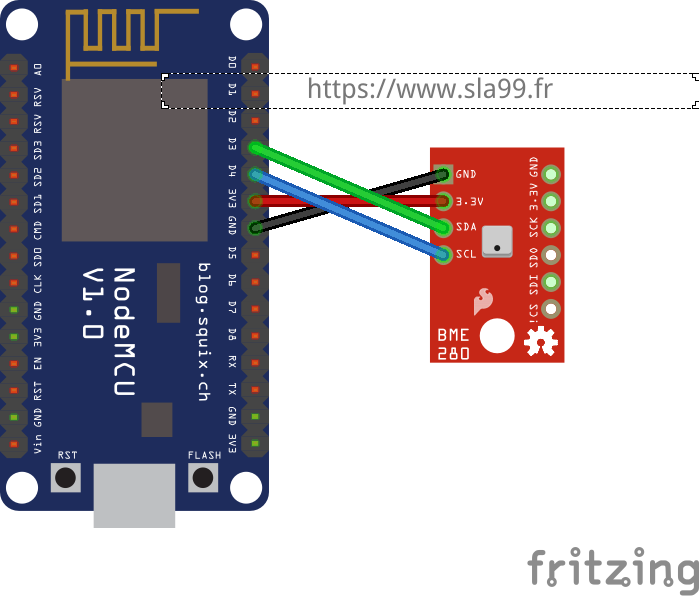
Pour le BME280 (voir ici), le câblage des 4 fils se fait directement sur la carte. Il faut noter les pins suivantes.
| SDA | Pin D3 (0) |
| SCL | Pin D4 (2) |
Voici le schéma
Pour le code, j’ai trouvé ici une librairie qui fonctionne. Je vous joins le fichier zip ici au cas où.
Ajouter la bibliothèque et tester le programme suivant. La fonction getP permet de corriger la pression atmosphérique en fonction de votre altitude. Elle est donc à renseigner dans la variable MYALTITUDE. Le reste du code est simple à lire et comprendre.
#include <ESP8266WiFi.h>
#include <Wire.h>
#include <BME280_t.h>

const char* ssid = "mon_ssid";
const char* password = "xxxxxxxx";

const int MYALTITUDE = 350;
BME280<> BMESensor;

WiFiServer server(80);

void setup() {
  Serial.begin(115200);
  delay(10);

  // Connect to WiFi network
  Serial.println();
  Serial.println();
  Serial.print("Connecting to ");
  Serial.println(ssid);

  WiFi.begin(ssid, password);

  while (WiFi.status() != WL_CONNECTED) {
    delay(500);
    Serial.print(".");
  }
  Serial.println("");
  Serial.println("WiFi connected");

  // Start the server
  server.begin();
  Serial.println("Server started");

  // Print the IP address
  Serial.print("Use this URL to connect: ");
  Serial.print("http://");
  Serial.print(WiFi.localIP());
  Serial.println("/");

  //initialisation bme280
  Wire.begin(0,2);
  BMESensor.begin();

}

//fonction qui corrige la pression en fonction de l'altitude
double getP(double Pact, double temp, double altitude) {
  return Pact * pow((1 - ((0.0065 * altitude) / (temp + 0.0065 * altitude + 273.15))), -5.257);
}

void loop() {
  // Check if a client has connected
  WiFiClient client = server.available();
  if (!client) {
    return;
  }

  // Wait until the client sends some data
  Serial.println("new client");
  while(!client.available()){
    delay(1);
  }

  // Read the first line of the request
  String request = client.readStringUntil('\r');
  Serial.println(request);
  client.flush();

  // Return the response
  client.println("HTTP/1.1 200 OK");
  client.println("Content-Type: text/html");
  client.println(""); //  do not forget this one
  client.println("<!DOCTYPE HTML>");
  client.println("<html>");

  BMESensor.refresh();

  client.print("Temp : ");
  client.print(BMESensor.temperature);
  client.println(" °C");

  client.print("Hum : ");
  client.print(BMESensor.humidity);
  client.println(" %");

  client.print("Pression : ");
  client.print(getP((BMESensor.pressure / 100.0F), BMESensor.temperature, MYALTITUDE));
  client.println(" hPa");

  client.println("</html>");

  delay(1);
  Serial.println("Client disconnected");
  Serial.println("");

}
Voici le résultat :
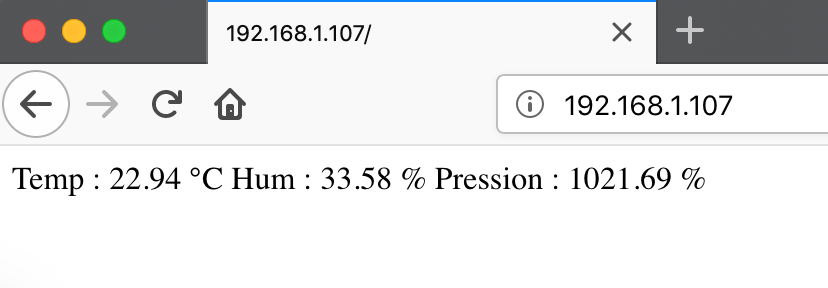
Conclusion
On a vu qu’en quelques minutes, on a déjà bien exploité notre NodeMCU pour récupérer les informations nécessaires pour faire notre IOT. La prochaine étape sera de récupérer cette information dans notre système central.
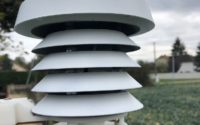
Projet Station Météo Pro : nouvel abri construit
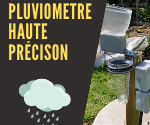
Fabrication d’un pluviomètre haute précision
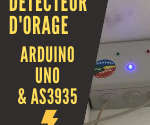
Détecteur d’orage avec un Arduino Uno et un AS3935 (V2)
A propos de l'auteur
Fabien
Professionnel de l'IT dans les infrastructures depuis 15 ans, je pratique aussi à la maison dans les domaines du réseau, de la domotique et de la gestion des données. Je souhaite partager ici tous les projets et toutes les astuces que j'ai mis en place et continue de développer.
Bonjour Fabien, je souhaiterai créerune sonde esp8266 qui enverrait ses données à un autre esp8266 qui lui servirait de serveur pour recevoir les données de la sonde et serait consultable (site web) par un navigateur. Pourrais-tu me donner un exemple ? par avance merci.
Bonjour Thierry,
Je n’ai jamais essayé ca mais on trouve pas mal d’exemple (voir par exemple le carnetdumaker)